Drawing Tools Guide
Application Installation Guide
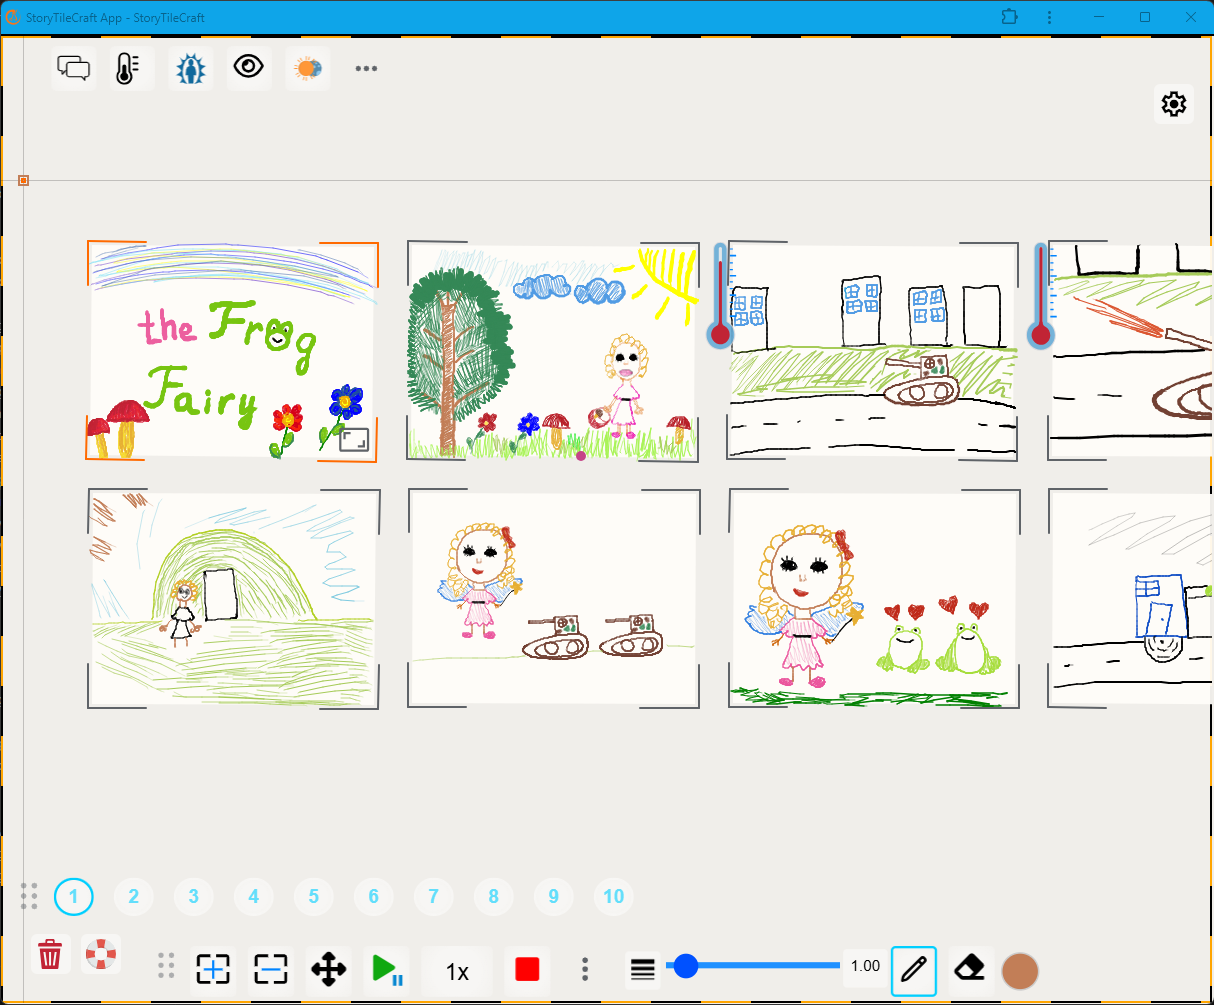
Getting to Know the Toolbars
On the screen, the tools are arranged along the edges of the tablet.
- top right panel — panel for working with the drawing;
- bottom right panel — navigation panel, delete button, pause button;
- top left corner — settings;
- bottom left corner — gamification panel (enabled in settings as needed);
- bottom toolbar — drawing tools.
The top and bottom toolbars have additional buttons hidden behind three dots.
If you are drawing on a tablet, follow the steps in the instructions using your fingers or a stylus.
If you are drawing on a laptop in the Google Chrome browser, perform all actions with the mouse. Advanced actions use the mouse wheel while holding the Alt or Ctrl keys.
Stage 1. Managing Frames
1. Create a frame for drawing.
On the bottom toolbar, click the add frame button.
The first drawing frame will appear on the screen.
2. Add two more frames for drawing.
Click the button two more times.
Two more drawing frames will appear on the screen.
3. Let’s choose a frame for drawing.
You can select a frame in two ways:
- first method — tap the frame on the screen with your finger;
- second method — in the bottom-left corner of the tablet screen, find the numbered circles. The number corresponds to the frame number. Tap the circle with the number.
You will see that one of the frames has moved to the center of the screen and has an orange outline.
The other frames have a gray outline.
4. Deleting a frame
- select a frame using one of the two methods described above;
- click the delete selected frame button. The button is located next to the add frame button.
5. Deleting all frames — complete workspace cleanup
- in the bottom-left corner of the screen, find the button with a trash bin icon;
- click the button.
All frames along with the drawings will be erased, and you will get a clean workspace.
6. Let’s enlarge the drawing frame.
There are two ways to enlarge a frame:
- The first method works if the frame is already in focus (has an orange outline). To use this method, tap the numbered circle for the selected frame once more;
- The second method uses the hidden buttons of the frame in focus. Quickly tap once in the center of the frame. In the bottom-right corner of the frame, a rectangle icon will appear. Quickly tap the rectangle twice in a row.
The drawing frame will be enlarged on the screen.
7. Change the order of frames in the story
On the bottom toolbar, find the button to change the order and activate it.
- while the tool is active, you can freely move frames;
- click the move button;
- touch frame number 2 with your finger and drag it to the end of the story;
- click the button to change the order again to apply the new order;
- the story will automatically be arranged into a strip in the new order;
- play the story again.
This way you can see how the sequence of frames in the story has changed.
8. Add an extra frame to the middle of the story
- determine after which frame you want to add a new frame;
- bring the frame into focus by lightly tapping it with your finger;
- on the bottom toolbar, click the add frame button.
This way you can see how the new frame created a new sequence of frames in the story.
9. Cloning a frame
Bring a frame into focus.
- on the top toolbar, click the button to clone the selected frame.
A duplicate of the current frame will appear next to the original frame.
10. Change the orientation of frames on the screen.
If you are drawing on a tablet:
- To zoom in or out, spread or pinch two fingers.
- To rotate the canvas, touch the screen with three fingers and gently turn your hand.
- To arrange the frames in a single row or return the original order, there are three ways:
- press the button to align the story into a strip;
- swipe from bottom to top or from top to bottom (Swipe);
- rotate the tablet by 90 degrees.
If you are drawing on a laptop in the Google Chrome browser:
- To zoom in or out (Zoom), scroll the mouse wheel forward or backward.
- To move a single frame (Move), hover the mouse cursor over the frame, then right-click and drag.
- To arrange the frames in a single row or return the original order, press the button to align the story into a strip.
11. Hidden functions of the frame
Double tap inside the frame (Double tap).
- in the bottom-right corner you will see the frame enlargement button — fit to screen.
Double tap the top-left corner of the frame that contains an image.
- in the top-left corner you will see the button that allows you to move the image within the frame — inner composition of the frame. In this mode you can change elements that have already been drawn — move, reduce, or align them.
If the navigation buttons have disappeared and you want them to be shown, or, conversely, you want to hide the navigation panel:
- place four fingers on the tablet screen at the same time.
Stage one is complete. You have mastered managing the story’s frames.
Next — the following step: we will learn to draw the story.
Stage 2. Drawing
1. Let’s start drawing.
Let’s draw the number «1» in the first frame:
- on the bottom toolbar, find the button with a pencil icon;
- click the pencil button;
- in the selected frame, draw the number «1» with your finger.
Remember: the speed of movement affects the thickness of the line — the faster you move, the thicker the line.
2. Using the eraser
On the bottom toolbar, find the button with an eraser icon.
- click the button and select the eraser tool;
- erase the number «1».
3. Changing the line width for drawing.
- on the bottom toolbar, find the slider;
- move the slider to the right or left and choose the line width for drawing. By moving the slider, you change the stroke thickness.
The line thickness will change.
4. Changing the line color
On the bottom toolbar on the right, find the color circle.
- tap the circle with your finger;
- choose a color you like.
5. Let’s continue drawing
Let’s draw the number «1» again in the first frame:
- on the bottom toolbar, find the button with a pencil icon;
- click the pencil button;
- in the selected frame, draw the number «1» with your finger.
6. Switch to the next frame for drawing.
Find the navigation panel (numbered circles in the bottom-left corner of the tablet screen).
Navigation panel
- Each frame is a button with a number. The number corresponds to the frame number.
- One tap brings the selected frame to the center.
- A second tap enlarges the frame for drawing and detailed viewing.
What to do to move to the second frame:
- tap the circle with the number 2.
The second drawing frame will move to the center of the screen.
7. Add images to the second and third frames.
- on the bottom panel, click the pencil button;
- let’s draw the number «2»;
- on the navigation panel, go to the third frame by tapping the number 3;
- on the bottom panel, select the pencil again and draw the number «3».
Great! The second stage of the story-drawing instruction has been successfully completed.
Step by step, everything becomes simple if you give yourself a little time and calmly press the right buttons.
You have created your first story — and now you can start learning how to manage it.
Stage 3. Playing the Story
1. Play the story forward.
Important:
If a frame is in focus, the story will start playing from the frame in focus (a frame with an orange outline).
To have the story play from the first frame, you need to move the focus to the first frame.
To do this, on the frame navigator, tap the circle with the number 1.
If no frame is in focus, the story will start playing from the beginning.
How to play:
On the bottom toolbar, press the play button.
Additional story playback controls:
- pause playback — press the pause button;
- change the playback speed — press the list button 1× and select the playback speed:
4× (fastest), 2×, 1×, 0.5×, 0.25× (slowest); - stop playback — press the stop button . Pressing the button stops the story playback. If you press the play button again, the story will start playing from the beginning.
2. Play the story in reverse order.
The reverse playback button is hidden behind the three dots on the bottom toolbar.
- click the three dots to the right of the stop button , and the reverse playback button will appear before the play button;
- press the reverse playback button;
- press the play button.
3. Skip the story to the next frame.
On the bottom toolbar, find the button to skip playback forward.
- press the button once;
- press the button a second time;
- press the button a third time;
You will see that the focus moves to the next frame of the story. You can switch endlessly. Switching occurs in a loop.
4. Align the story into a strip.
To align the story back into a strip after playback:
- find the align-to-strip button on the top toolbar;
- click the button.
The story will automatically return to its initial position — a strip centered on the screen.
Additional method:
Swipe from top to bottom on the right side of the screen (Swipe down).
The third stage is complete. Now you not only know how to draw a story, but also how to control it. You’re progressing confidently, and the most exciting step is just ahead.
Stage 4. Gamifiers
The app also has the ability to control an individual frame.
To use the tools, you need to select a frame before applying them.
1. Add a text narrative
You can add a text narrative to each frame.
- select one of the frames;
- on the top panel, find the speech bubble button;
- click the icon.
The frame will automatically move to the center of the screen.
A speech bubble window with a cursor will appear to the right of the frame — a place for the narrative.
You can enter text.
The narrative editor has buttons to delete text 🗑️, cancel ✗, and apply changes ✓.
- in the narrative editor, enter text, for example: «This is number 1»;
- click the apply changes button ✓
The frame has a speech bubble with text.
- select another frame;
- in the narrative editor of the second frame, enter text, for example: «This is number 2»;
- click the apply changes button ✓
The second frame has a speech bubble with text.
Try playing the story with the narrative in the frames and see how your story looks with textual accompaniment.
- click play story.
2. Add a thermometer
Bring a frame into focus.
- on the top toolbar, press the thermometer.
A thermometer with a scale from 1 to 10 will appear on the left edge of the screen under the top toolbar.
How to change the position on the thermometer scale for the current frame:
- move the scale slider and change its position.
The scale can be closed in two ways:
- first — press the cross on the scale;
- second — on the top panel, press the thermometer button again.
Remove the thermometer from the frame:
- bring the frame into focus so that it has an orange outline;
- press the thermometer button on the top panel.
3. Set the frame background
Bring a frame into focus.
- on the bottom toolbar, open the color palette and choose a color you like;
- on the top toolbar, press the tone button — the frame will be colored in the selected color.
The frame background is colored in your selected color.
4. Show only one frame on the screen
Bring into focus the frame you want to keep on the screen.
- on the top toolbar, press the button to show only the selected frame;
All frames disappear from the screen except the selected one. The button changed state and the icon to
- press the button to bring all frames back to the screen.
All frames are present on the screen again.
5. Overlay mode: one frame over another
Bring the frame into focus so that it has an orange outline.
- on the top toolbar, press the overlay mode button;
- on the bottom toolbar, press the move frame button;
- carefully place your finger on the selected frame and move it onto the adjacent frame (on top of another frame).
A button icon will appear above the frame.
The current frame with the icon overlaps another frame.
The other frame’s image cannot be seen while the current frame is covering it.
6. Breathing — an option to take a pause
In the bottom-left corner, find the button to switch to breathing mode.
Press the breathing button.
Try inhaling and exhaling slowly while observing the movement of the image on the screen.
7. Interaction with images through gamifiers
Enable the gamification panel:
- click the gear wheel in the top-right corner of the screen;
- in the Settings window, go to TF-CBT;
- toggle the «Enable gamification elements» slider to the right.
An icon of the gamifiers panel in the shape of a joystick will appear in the bottom-right corner.
- click the gamifiers panel icon and take a look at the gamifiers;
8. Interaction with an image through shattering
Enlarge one of the frames.
- bring the frame into focus so that it has an orange outline;
- click the button with a hammer icon;
The frame will move to the shattering workspace.
- tap the frame with your finger anywhere;
The frame will start shattering like glass.
- restore the frame by clicking the restore button , located in the bottom-left corner of the screen in the shattering workspace;
- change the position of the slider located on the left side of the screen in the shattering workspace;
- tap the frame with your finger anywhere;
The frame shattered faster than the previous time.
- return to the story workspace by clicking the return button.
9. Working with fire
Select the frame you want to burn. Enlarge this frame.
Bring the frame into focus so that it has an orange outline.
- click the button with a fire icon;
The fire gamifier workspace will open.
- swipe your finger across the drawing;
The image will start to appear as if it’s burning.
- click the restore image button;
- use the shield tool to outline the part of the image you want to protect from the flames;
- swipe your finger across the drawing;
The image will burn only where there is no protection.
- click the restore image button;
- click the fuel tool;
- swipe your finger across the image to add «logs» so the image catches fire better;
- swipe your finger across the drawing;
With fuel, the image burns faster.
- click the restore image button;
- on the upper left side, move the sliders higher, upward;
- swipe your finger across the image;
The flames in the image are larger in diameter. The image burns faster.
- click the restore image button;
- swipe your finger across the image;
- while the flames are burning, click the fire extinguisher button;
The flames went out after you pressed the fire extinguisher.
10. Colorization and composing the image
Choose a frame you want to play with using filters. Enlarge this frame.
Bring the frame into focus so that it has an orange outline.
- click the button with the colorization and composing image icon;
The workspace for color filters and composing the image will open.
You will see a toolbar with buttons:
11. Grayscale tool
- click the grayscale button;
- slowly move the slider all the way to the left, then all the way to the right;
- notice how the image colors change;
Slider all the way left — the image is gray.
Slider all the way right — the image is in color.
12. Blur effect tool
- click the blur effect button;
- slowly move the slider all the way to the left, then all the way to the right;
- notice how the image sharpness changes;
Slider all the way left — the image is sharp.
Slider all the way right — the image is blurred.
13. Color inversion tool
- click the dynamic color change button;
- slowly move the slider all the way to the left, then all the way to the right;
- notice how the image colors change;
Slider all the way left — the image is as it was.
Slider in the middle — the colors have changed.
Slider all the way right — the image is as it was.
14. Color filter tool
- slowly press the color filter button several times in a row;
- pay attention to how the image colors change;
After each press of the button, the image changes color.
15. Image folding tool
- press the folding button;
A vertical dotted line will appear in the middle of the screen.
- place your finger on the right side of the screen and hold;
The drawing will fold to the left.
- press the folding button one more time;
The drawing will flip. The dotted line will become horizontal.
- place your finger on the top or bottom side of the screen and hold;
The drawing will fold upward.
Repeat the actions as many times as you need, or until the image becomes unrecognizable:
- press the folding button;
- place your finger on the right side of the screen and hold;
- place your finger on the top or bottom side of the screen and hold;
Important:
After folding, the image in the story will remain folded if you press the return button and return to the story workspace. To return the frame to its initial state, unfold it in the same workspace where you folded it, using the image unfolding tool.
16. Image unfolding tool
Prerequisites for use:
You should see the folded drawing on the tablet screen.
You should be in the workspace for folding — unfolding drawings.
- press the image unfolding button;
- touch the drawing and wait until it unfolds;
- press the image unfolding button;
- touch the drawing and wait until it unfolds;
- press the image unfolding button;
- touch the drawing and wait until it unfolds;
- repeat these actions until the drawing is completely unfolded.
The drawing is completely unfolded.
Press
You have tried interacting with individual frames of the drawn story.
At this point, you have become familiar with the main functions of the app — the first-level capabilities.
Stage 5. Saving and restoring the story
Saving the story
- click the gear wheel in the top-right corner of the screen;
- in the Settings window, on the left in the menu, go to Storage;
- click Save story to JSON file
A message that the file has been downloaded will appear on the screen for a few seconds.
Restoring the story
- click the gear wheel in the top-right corner of the screen;
- in the Settings window, on the left in the menu, go to Storage;
- click Upload story from JSON file
The storage on your tablet will open.
- find your story in the tablet’s storage;
- select the story by touching it with your finger.
The story will automatically load into the app and appear in the drawing workspace.